
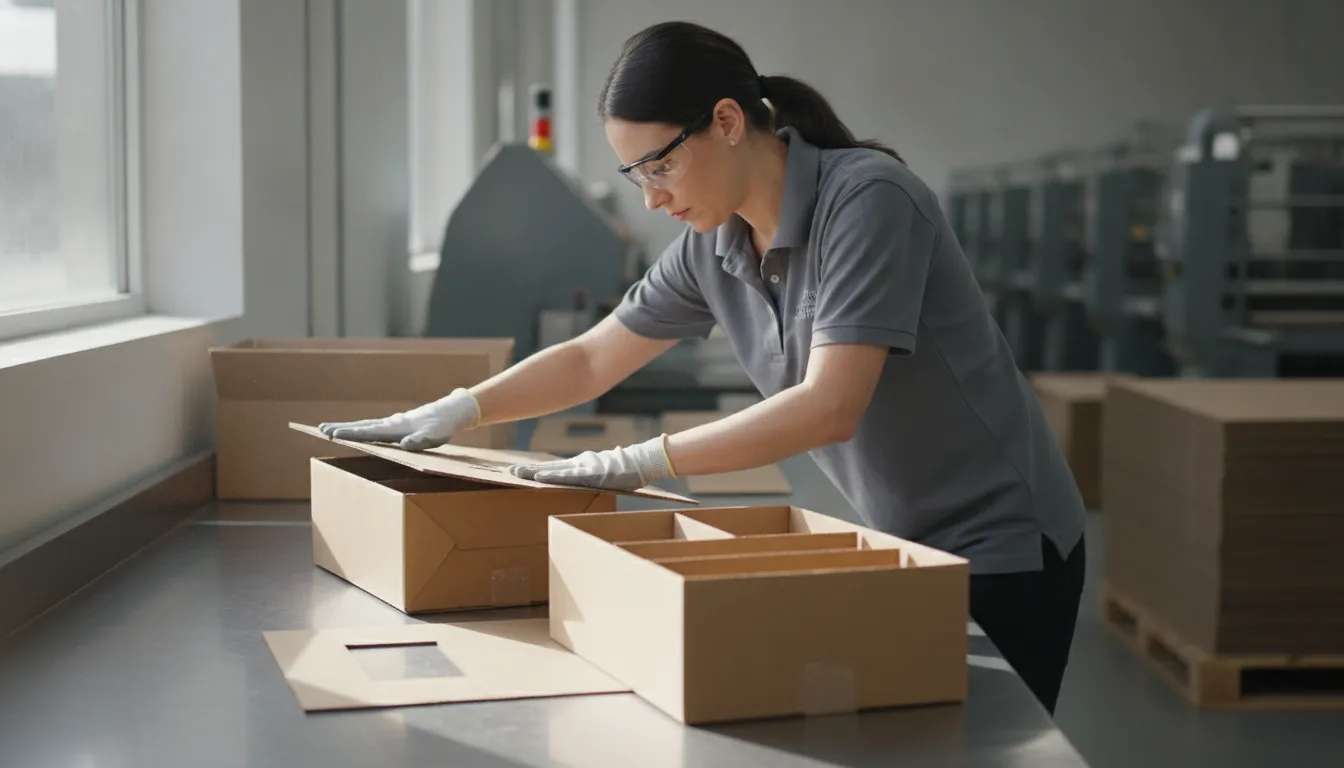
Packaging problems rarely begin when a shipment arrives damaged. They often start earlier, with an unconfirmed material specification, a box that does not fit as intended, or a print and closure detail no one recorded. A practical inspection process gives buyers and production teams a shared way to catch those issues before they become rework, returns, or product loss.
A packaging quality control checklist should connect approved specifications to checks for incoming materials, dimensions, fit, print, labels, assembly, protection, sampling, and corrective action. It should also record what was inspected, what failed, who investigated it, and how the correction was verified.
For New England manufacturers, distributors, producers, and ecommerce teams, the goal is not to invent a universal pass or fail standard. It is to build a repeatable review that reflects the product, packaging format, handling conditions, and customer expectations. Start by defining what the checklist needs to cover and how each checkpoint supports a reliable packaging decision.
What Should a Packaging Quality Control Checklist Cover?
For a B2B buyer, packaging quality control is more than looking for a damaged carton at the end of production. A useful checklist connects the approved specification to what arrives, how the package performs, what inspectors observe, and what happens when something does not match. It should work for the packaging itself and for the product, label, insert, or closure that makes the finished pack complete.
| Checkpoint | What to confirm | Evidence to keep |
|---|---|---|
| Incoming materials | Material identity, construction, lot, and condition match the approved reference. | Purchase order, lot record, specification revision, photos. |
| Fit and assembly | Dimensions, product fit, components, seams, and closures work together. | Measurements, test-fit notes, marked samples, disposition. |
| Print and appearance | Artwork, labels, print placement, interior, exterior, and visible condition match requirements. | Approved artwork, inspection record, defect location, photos. |
| Protection and follow-through | The package suits handling and distribution risks, and defects are corrected and rechecked. | Release decision, corrective action, verification record. |
Start with the agreed requirements
Define what the supplier is expected to provide before anyone begins checking. That may include the package style, material or board construction, dimensions, artwork version, closure method, and intended product fit. A packaging quality control checklist should make those references easy to find, rather than relying on memory or an informal sample on the production floor. For an overview of custom corrugated boxes and supplies, buyers can also compare available packaging formats with the needs of their products.
Separate inspection points from acceptance decisions
List the characteristics to inspect, then identify the approved specification or customer requirement used to evaluate each one. One practical quality-control approach is to measure product dimensions and compare them with standard specifications, rather than recording measurements without context. The right checks will vary by package type. Corrugated cartons may require attention to fit, construction, print, and closure, while flexible or food-contact packages may require more specific seal and integrity considerations. Do not assume that every package is suitable for food contact.
Make evidence and follow-through part of the checklist
A checklist should provide space to document quality-check results, including the item reviewed, the observed condition, the specification or version used, and any defect location. This record helps purchasing, production, and the supplier discuss the same evidence. It also gives the team a basis for investigating a deviation and deciding whether corrected packaging needs to be checked again. The goal is not to invent universal tolerances or a fixed sampling plan. It is to create a repeatable framework that can be tailored to the package, product, distribution conditions, and requirements agreed by the buyer and supplier.
Start With Incoming Materials and Approved Specifications
A reliable inspection begins before a box reaches the production line. Confirm that the delivered material matches the purchase order, approved sample, drawing, or other controlled specification. This gives the team a clear reference for identifying a substitution, damage, or mismatch before it affects finished packaging.
Confirm material identity and construction
Record the material description, supplier reference, board or substrate type, and revision being received. For corrugated packaging, document the agreed construction rather than relying on a general term such as “cardboard.” NARA describes single-wall corrugated board as two facings adhered to one fluted medium. That is an illustrative reference only, not a Volk requirement. Its specification also identifies B- and E-flute board. See the NARA corrugated-board specification for that specific example.
- Verify the material and flute or construction against the approved specification.
- Check the supplier, lot or shipment reference, and specification revision.
- Note visible moisture, contamination, crushing, delamination, or other damage.
Match dimensions to the approved reference
Dimensions should be written into the contract or controlled specification, not left to an informal description. The NARA document states that boxboard dimensions should be specified in the contract. That is an illustrative documentation practice, not a Volk tolerance or acceptance limit. For each incoming material, identify which dimensions matter for the intended product, equipment, assembly, and storage conditions. Keep the approved drawing or sample available so measurements can be compared consistently.
Check container integrity before use
Inspect whether the material can be handled without unexpected failure. OSHA advises that container integrity should prevent a box, bag, or bucket from breaking, ripping, or pulling apart during lifting. OSHA also notes that package shape, weight, and material can affect worker stress. These are general safety considerations, not Volk acceptance criteria. A practical incoming check can ask:
- Does the container remain intact during ordinary handling?
- Are seams, edges, handholds, and closures free from obvious weakness?
- Does the package form suit the product and the planned handling method?
For buyers evaluating custom corrugated boxes and supplies, sharing the approved dimensions, construction, and handling requirements early helps a packaging partner assess the right material before production begins.
How Do You Check Dimensions, Fit, and Assembly?
A box can match a drawing and still create problems on the packing line if the product, components, or closures do not work together. Treat this part of a packaging quality control checklist as a hands-on review of the complete package, not just a measurement exercise. The sequence below is a buyer-side framework, not a universal acceptance standard.
Measure the package against the approved specification
- Confirm the reference version. Gather the approved drawing, product dimensions, material description, and intended pack configuration. For corrugated work, RSC and die-cut cartons are common examples of secondary packaging, but the correct construction depends on the product and application. The reference should identify the package being reviewed, rather than relying on an informal description or an outdated sample.
- Measure the relevant dimensions. Check the assembled carton and its opening using the method recommended by the closing-equipment or packaging-material manufacturer. Compare the results with the approved specification and record the measurement conditions. Do not transfer dimensions or tolerances from a flexible-package procedure to a corrugated carton without confirming that the method applies.
- Test-fit the actual product. Place the product into the package in its intended orientation. Check that it seats correctly, does not create unwanted pressure, and leaves room for specified inserts, protective materials, or components. If the package is part of a repeatable fulfillment process, test the motions used by the packing team as well as the finished fit.
- Validate every component and assembly part. Confirm that inserts, dividers, pads, labels, hardware, and other required pieces are present and match the approved configuration. A component check is especially important when several items are kitted together. For a related workflow, see Volk’s guide to consistent kitting and labeling checks.
- Inspect seams, folds, and closures. Assemble the carton fully and check that panels align, seams hold, and closures engage as intended without forcing the product or distorting the box. Inspect inside and outside surfaces. For flexible or food-contact packages, food particles or moisture on sealing surfaces can contribute to seal defects, but that example does not automatically apply to corrugated cartons. Food-contact requirements and package-specific methods must be evaluated separately.
- Document the result and any defect. Record what was checked, which specification or sample was used, and where a mismatch occurred. Photograph or mark the issue when useful, then separate affected material while the supplier or production team investigates the cause. Recheck a corrected package against the approved requirements before releasing it.
Keep package type and use case in view
Inspection language often comes from flexible or food-contact packaging guidance, where closure integrity and sealing surfaces receive particular attention. Those principles can inform careful observation, but they are not proof that a corrugated carton is food-safe or subject to the same test. Match each check to the material, product, equipment, and assembly method actually in use.
Make the review repeatable
Use the same approved references and documentation fields each time, while allowing the responsible team to define appropriate methods for the specific package. That creates useful evidence for supplier discussions without inventing tolerances, sample sizes, or food-safety claims.
Inspect Print, Labels, Closures, and Appearance
Packaging can meet a dimensional specification and still create problems at receiving, on a production line, or in front of a customer. A visual review should compare the finished package with the approved artwork, label information, construction details, and intended presentation. Treat this as a buyer-side checkpoint, not as a substitute for product-specific regulatory review.
Compare artwork, print, and labels with the approved version
Check that logos, product names, instructions, barcodes, lot information, and other required label details match the current approved file. Look for legibility, adequate contrast, registration, color consistency, and print placement. Also confirm that the outside presentation matches the intended customer experience while the inside remains appropriate for the product and packing process.
Volk documents both digital and flexographic printing capabilities, with the appropriate approach depending on the project and production needs. Buyers evaluating custom packaging design and printing should align on the approved artwork, revision, substrates, and expected appearance before production.
Review the package inside and out
Examine the interior and exterior condition, including seams, closures, folds, and contact surfaces. The inspection guidance in the cited packaging manual recommends assessing package condition inside and outside and evaluating seal or seam quality. For relevant flexible packages, visual examination can reveal many closure defects, but corrugated cartons and other package types still require checks suited to their construction.
Record visible defects before they become recurring issues
Look for crushing, perforations, malformations, flex cracks, delamination, swelling, damaged corners, loose closures, or other visible inconsistencies. These are examples of defects identified in the packaging examination guidance, not automatic rejection criteria for every application. Photograph the issue, identify its location, and record the related artwork or production version. That evidence helps the packaging team determine whether the cause is material, printing, converting, handling, or assembly related.
Do not assume a visual pass establishes food safety or a performance guarantee. If the package has a food-contact application, confirm the requirements for that specific package and material separately.
Test Product Protection Before Distribution
A package can look correct on the production floor and still fail when products are lifted, stacked, handled, or moved through a delivery network. Before release, evaluate whether the design keeps the product positioned, limits avoidable movement, and remains practical for the people who handle it.
Check fit and movement around the product
Start with the relationship between the product and its container. Look for excess space that could allow shifting, as well as tight areas that could create pressure during packing or transit. If the product needs cushioning or separation, confirm that the insert can be placed consistently and does not interfere with closure.
Foam inserts can help protect products from damage and movement during transit when they are designed for the application. The right choice depends on the product’s shape, fragility, finish, weight, and packing process. Review how the product sits in the package after normal handling rather than judging fit from an empty carton.
Evaluate handling and closure risks
Consider the people who will lift and move the finished package. OSHA recommends stable boxes with handhold cutouts or handles, especially for extremely heavy products. It also notes that container integrity should prevent a box, bag, or bucket from breaking, ripping, or pulling apart during lifting. These checks connect product protection with worker handling, not just appearance. OSHA’s packaging guidance provides context for those handling considerations.
Confirm that the closure stays secure through packing and ordinary handling. For flexible or food-contact packages, use the requirements and test methods appropriate to that package type. A hermetic closure is intended to block microorganisms and prevent oxygen from degrading food. But that concept should not be applied to every corrugated box or general packaging format. Food packaging claims also require product-specific review; not every packaging material is food-approved.
Consider the distribution environment
Identify the likely risks before selecting a release check: drops, compression, vibration, moisture, temperature changes, or repeated handling. Distribution, or abuse, testing is one recognized package examination method, but the appropriate approach depends on the product, package construction, and shipping conditions. Use results to decide whether the package needs a different insert, stronger closure, revised fit, or another design adjustment. Record the conditions reviewed and the evidence supporting the release decision so the same packaging quality control checklist can guide future production runs.
How Should Teams Sample and Document Inspections?
A useful inspection record makes each observation traceable without pretending that one sampling plan fits every product. Treat the approach below as general buyer-side best practice. Set sample sizes, inspection frequency, and acceptance criteria with the packaging supplier and your own product requirements.
Define the inspection record before production
Give each inspection a clear identity. Record the lot or shipment reference, date, product or package description, approved specification and revision, inspector, inspection method, and the units or areas examined. Note whether the check covers incoming materials, dimensions, print, assembly, closures, or product protection.
For each observation, capture the result in plain language. A useful entry describes what was checked, what was found, where it was found, and whether the item was accepted, held, reworked, or rejected under the agreed process. Attach photographs, marked samples, measurement records, or supplier correspondence when they help someone understand the decision later.
Use sight, touch, and suitable lighting
Visual inspection should not depend on sight alone. The FDA’s packaging examination guidance recommends using hand as well as eye, and notes that proper illumination and magnification can assist examination. For flexible packages, an inspector can feel the seal area for folds and ridges, while a careful review of flat surfaces may reveal roughness or unevenness. Read the source guidance for that context.
When a defect appears, mark its location on the sample or image in a controlled way. Record the defect type and location rather than writing only “failed.” That detail helps a supplier compare samples, identify patterns, and investigate the cause.
Preserve evidence and keep records connected
Keep the inspection result connected to the lot, specification version, and disposition. Store photos with consistent file names, retain the relevant sample when practical, and link any corrective-action record to the original finding. If packaging is assembled, labeled, or kitted as part of fulfillment, consistent kitting and labeling checks can extend the same traceability from materials through finished orders.
The goal is a record another person can understand and verify, not paperwork for its own sake. A clear trail makes supplier conversations more productive when the result does not match the approved packaging requirements.
Turn Defects Into Corrective Action
A defect is useful only when it leads to a controlled decision. Whether the issue is a crushed corner, incorrect dimensions, a damaged closure, or a package that no longer protects the product. The response should preserve evidence and prevent the same problem from moving further into production or distribution.
Contain the immediate risk
First, identify and separate the affected material, finished packages, or shipment. Record the lot, purchase order, specification or artwork version, inspection date, and location where the defect was found. Mark the defect location and retain representative samples or photographs when appropriate. If a package may have lost a hermetic seal, or if microbial growth is suspected in the contents, further investigation is required, according to the FDA’s packaging-integrity guidance. Review the relevant package-integrity guidance before deciding how to handle a food-packaging concern.
Find the cause and assign ownership
Do not stop at describing what failed. Compare the affected package with the approved specification and ask where the process could have introduced the variation. Review materials, equipment settings, setup or assembly steps, handling conditions, artwork or label files, and any change made since the last acceptable run. A corrective-action owner should have authority to investigate the likely cause and coordinate with the supplier, packaging team, production team, or fulfillment team as needed.
Correct, recheck, and close the record
The correction may involve replacing material, updating a specification, adjusting an assembly step, improving protection, or clarifying a work instruction. Document the quality-check results and the decision taken. Then recheck the corrected product against the applicable quality standard, not merely against the appearance of the original defect. Process Street’s quality-control checklist guidance likewise emphasizes investigating the cause and rechecking corrected products against quality standards: see its checklist framework.
- Contain the affected product or material.
- Document the defect, evidence, specification, and owner.
- Investigate the process or material cause.
- Implement and record the correction.
- Reinspect the result and close the record only when the requirement is met.
A disciplined packaging quality control checklist gives buyers and production teams a shared record for these decisions. If you want help translating your product, presentation, and protection requirements into a packaging specification, Request A Quote from Volk Packaging.
Frequently Asked Questions
What is quality control in packaging?
Quality control in packaging is the documented process of checking materials, dimensions, print, assembly, closures, and protection against agreed specifications. It also records defects and the action taken, so a team can make a consistent release decision rather than relying on appearance alone.
How do you make a packaging quality control checklist?
Start with the approved drawing, material specification, artwork, pack-out requirements, and intended distribution conditions. Organize checkpoints by incoming materials, fit and dimensions, print and labels, assembly, product protection, sampling, and corrective action. For each checkpoint, state what to inspect, how to record evidence, who reviews it, and what happens when the result does not meet the specification. Avoid inventing tolerances or sample sizes when the product or supplier specification does not define them.
What are the main steps in packaging quality control?
A practical sequence is to confirm the approved specification, inspect incoming materials, measure and test fit. Check print and closures, evaluate protection during handling or distribution, document the inspection, and investigate defects. For food-contact packages, seal condition deserves particular care because food particles or moisture on sealing surfaces can contribute to seal defects (FDA packaging integrity guidance).
What is the difference between QA and QC in packaging?
Quality assurance is the broader system that defines processes, responsibilities, specifications, and prevention. Quality control is the inspection and evidence-gathering work that checks whether a package or production lot meets those requirements. A useful checklist supports QC, while the surrounding QA system determines how specifications are approved, defects are contained, and corrected work is verified.
Ready to Review Your Packaging Requirements?
A clear quality-control plan helps your packaging team and supplier align on specifications, inspection points, and corrective action before production moves forward. Share your requirements, product details, and protection needs with Volk Packaging so the right packaging approach can be discussed. Request A Quote to start the conversation about your packaging quality-control requirements.